
I asked for tutorial suggestions and this was the first one I got.
In this tutorial I will show you how to make the quilted blanket overlay I used on these, these and these blankets.
After looking back at the textures I went on a hunt for the exact texture I used to make the quilt pattern but I wasn't able to find it. I did however save a transparent .PNG during the course of making those blankets so you can grab that here if you want to use that. You can then skip to step 15 and continue from there.
1. First I go to Google Images and search for "Quilted Fabric". I search through the images until I find one I like. For this one I am going to use this one:

In this tutorial I will show you how to make the quilted blanket overlay I used on these, these and these blankets.
After looking back at the textures I went on a hunt for the exact texture I used to make the quilt pattern but I wasn't able to find it. I did however save a transparent .PNG during the course of making those blankets so you can grab that here if you want to use that. You can then skip to step 15 and continue from there.
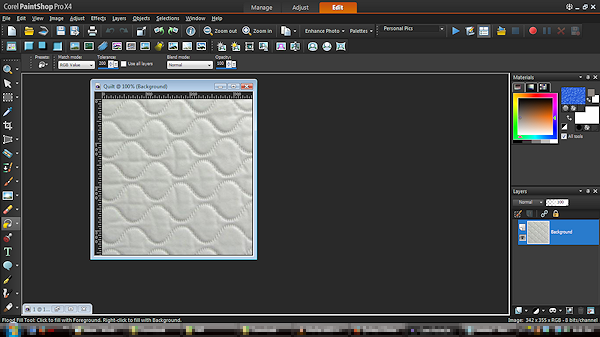
1. First I go to Google Images and search for "Quilted Fabric". I search through the images until I find one I like. For this one I am going to use this one:

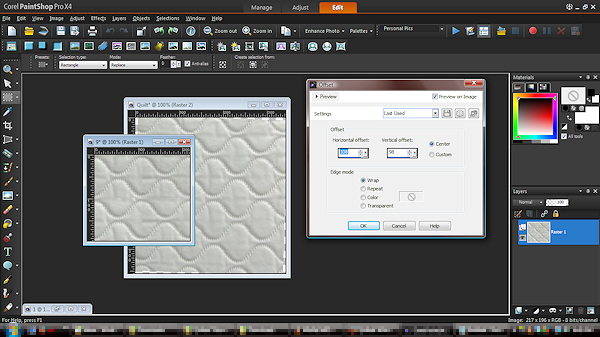
3. Next I am going to test how seamless the texture is by using the offset tool.
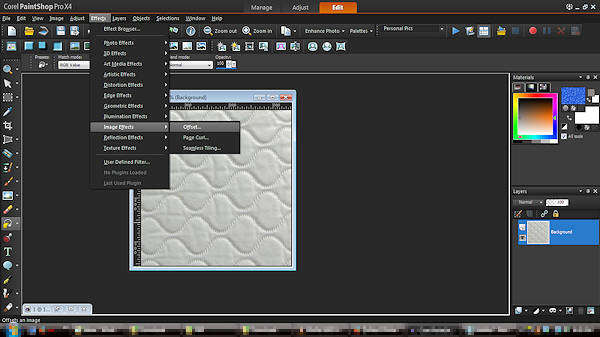
4. I use the "Center" and "Wrap" selections. As you can see it isn't very seamless, so click cancel. To try to fix this I am going rotate the image slightly then select a section of the texture that looks more seamless and duplicate it as a new image (ctrl+C then ctrl+shift+V).


5. I then test the seamlessness again using the same steps as above. Click ok this time. It looks much more seamless now, it just needs a few small corrections to make it look better.
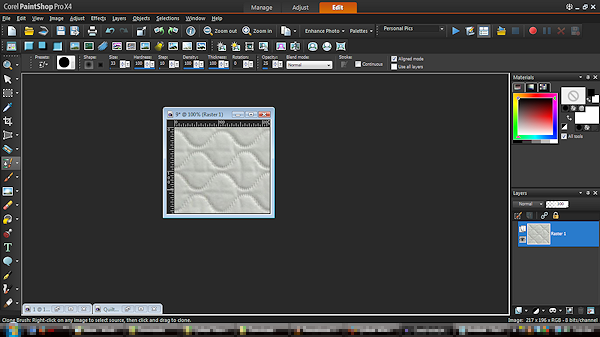
6. For this I am going to use the cloning tool. I clone and paste pieces from the original image (the one we turned earlier) until it looks more to my liking.


7. Once I am happy with how it is looking I use offset it once again to see how the "real" image is looking. If needed I touch it up with the same clone tool until I am happy.

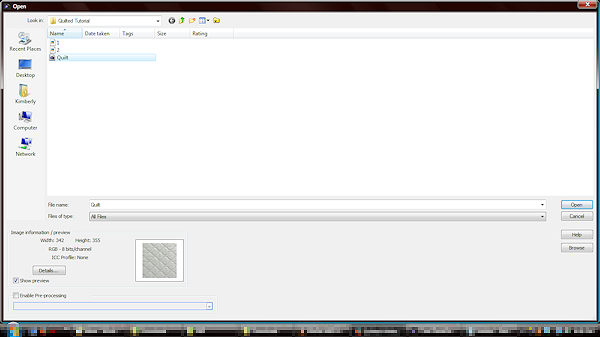
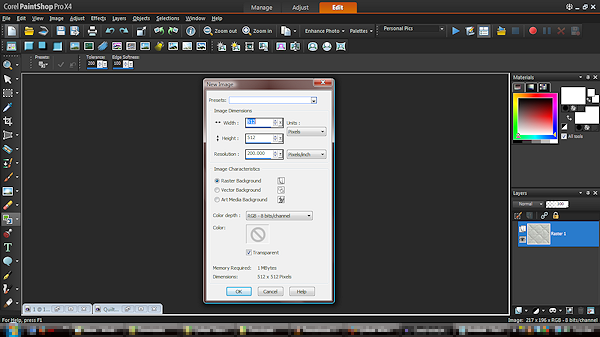
8. Now to make sure it looks good on a bigger surface. Open a new image which is 512x512.
9. Now select the filler tool and change the fill to patterns. Click on it and choose your seamless quilted texture as your pattern.
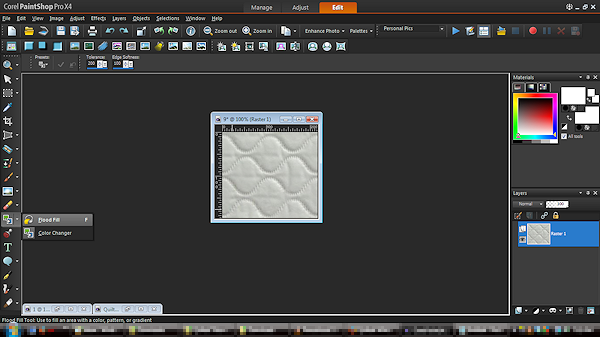
10. Now fill in your new image and take a look at what it looks like. If you don't like something then go back and fiddle some more with the texture and try again. I like it as is so I am going to leave it.

11. Go back to your seamless texture and using the color changer tool change the color to white.


12. Now we are going to make this into a brush. (This is how I do it in Paint Shop Pro, though it might be different in other programs.) Click on the Brush tool and then click on the "create new brush" button. Give it a name and click ok.


13. Now choose your freshly created brush and click ok. Change your color to black; add a new raster layer and click ok.


14. Place your brush over your image and line up the edges and click.
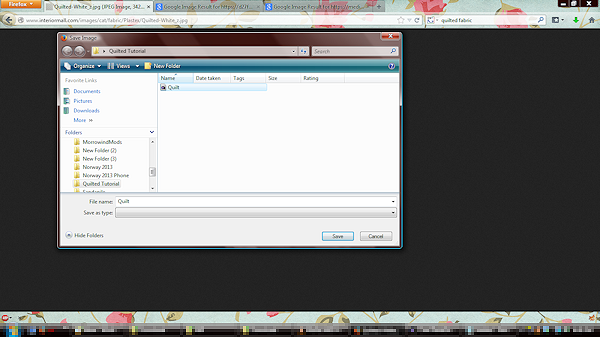
Hide or delete the back image. Now you have your transparent quilted
texture. Save this for later.


15. Now the fun begins. Open a new image to the size you need it. For this I am going to make it 512x512, the same size as needed for Jonesi's Blanket.

16. We are going to start with the border around the blanket. Select and area that is 10 pixels deep. Remove the edges to give them a nice slant. (I know this is hard to see...sorry)


17. To give the border a nice plump apperance you need to use the "buttonize" tool. Click it and change the settings to something that looks good to you. I used: Height 5, Width 10, Opacity 50 and the edge is transparent. Click ok.


18. Now I am going to copy and paste this all the way around the image. I do this by duplicating it as a new image and rotating it to the left/right then pasting it back onto the main image.


19. You now have a border for your blanket. You can touch this up anyway you like. For me I am going to make the outer edges and connecting seams darker. I do this by selecting those areas and using the color changer to make them a few shades darker.


20. We are going to add the transparent quilt texture. Add a new raster layer. Click ok.

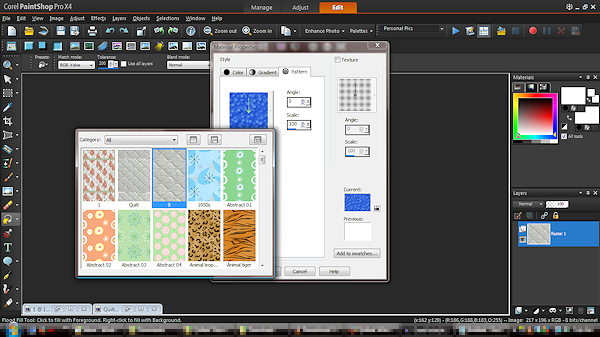
21. Select the area in the middle (so the border is around it). Click on the fill tool and change the setting to patterns. Select your transparent quilt pattern and if you want you can change the size and angle here. I left the size alone and set it to a 45 degree angle.


22. Using the fill tool fill in the selected area with your transparent quilt texture.

23. Check your image. Make sure it looks the way you like. If you want to make the texture smaller or change the angle then just go back and redo the last 2 steps. I am going to make the texture slightly smaller. I changed the scale to 90.
24. I like to add a little shadow in between the boarder and the quilted texture so I am going to select the boarder and drop a shadow. I set the opacity to 50, blur to 10 and color to black. Make sure the shadow is dropped onto a new raster layer.

25. I wanted my quilted texture to be slightly darker so I duplicated it and adjusted the opacity in the properties to 50%. You can now merge your image and save. This is your Shadow .PSD/overlay.


26. Now we can color our new overlay. So create a new raster layer and drag to the bottom of your layers tray.

27. Select the quilt part of the overlay (on the new raster layer) and find the texture (or color) you want to use. Using the same steps as above make the fill tool your patten and fill the selection. I got my patten from colourlovers.com.

28. Color your border the same way.

29. Merge together (and sharpen if you want).


30. Save your image and your done. Have fun!

(If you used the other texture I linked in the beginning then it should look like this.

Now if you want to by pass all of this and just get the .PSDs then you can grab them both below :)


Hello, i hate to pester you but i was wondering i you knew how to do the same thing with photoshop? Amazing work i am such a HUGE fan of all your work! Thanks :)
ReplyDeleteI've never used PS so I have no idea... sorry. I'm so happy you like my creations. I am a fan of yours as well :) Your decorating skills are to die for!
Delete